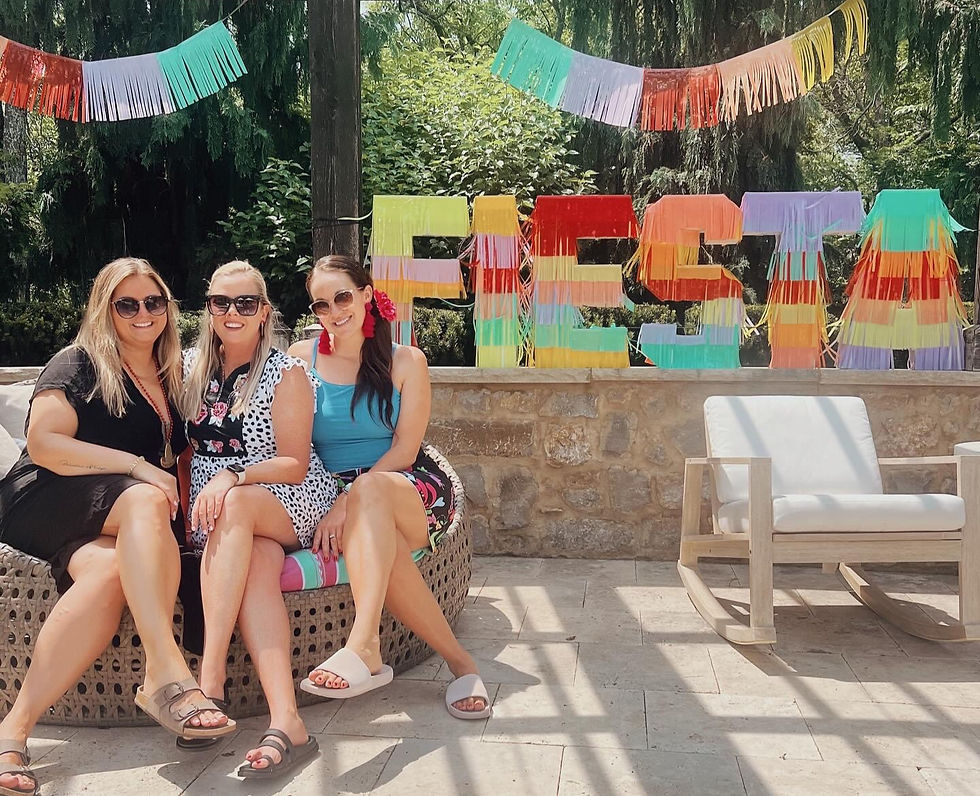
Piñata mosaic letters
- Stephanie Layne
- Jun 19, 2024
- 2 min read
This post may contain affiliate links, which means I’ll receive a commission if you purchase through my links, at no extra cost to you. As an Amazon & Reward Style Associate I earn from qualifying purchases. Please read full disclosure for more information.

These piñata monogrammed letters were a hit at our "Nacho average pool party" this summer. Here is a step by step guide to making them:
Supplies:
Mosaic letters from Amazon. They come in 2 or 3 feet. You can even get 4 feet ones if you want!
Fringe garland in your choice of colors. I think these are great if you're looking for tissue paper ones. I used plastic ones like these since it was a pool party and there was a chance of them getting wet.
Low temp glue gun and glue sticks
Scissors
Step 1: Assemble Letters
This step is super important to follow in order to have the letters ready to glue the fringe one. Instead of putting these together like you would to be filled with balloons, some need to be put together backwards. Letters like I, T or A will be fine either way but letters such as F, E, S need to be backward.
That way there is cardboard on the front to attach the fringe to.
Here's how:
Place the back of the letter on a table as you normally would read it, then flip horizontally so that the letter is backwards.
Then, you will begin attaching the sides as normal.

Step 2: Glue on Fringe
Begin gluing on the fringe at the bottom and work your way up. Trim off any excess as needed.
Don't forget to cover the top sections!

Repeat step 1 and 2 for all the letters.
Step 3: Display letters
Place sand bags or other heavy object in the base of the letters to keep upright.

Hope these make your party a HIT! Adios!


